

New printer? Now what?
So you just got your first 3D printer and you are wondering what to do now. Well, the first thing most people do after setting up their new printer is print a Benchy. What is a Benchy, you might ask? A Benchy is a little boat you can print to test out your new printer.
But before we start printing, let's get to know our printer and the software we need to use it first. Let's assume that you have the printer out of the box and have followed the setup instructions.
For the purposes of this tutorial we will be using the Elegoo Centauri Carbon (CC).

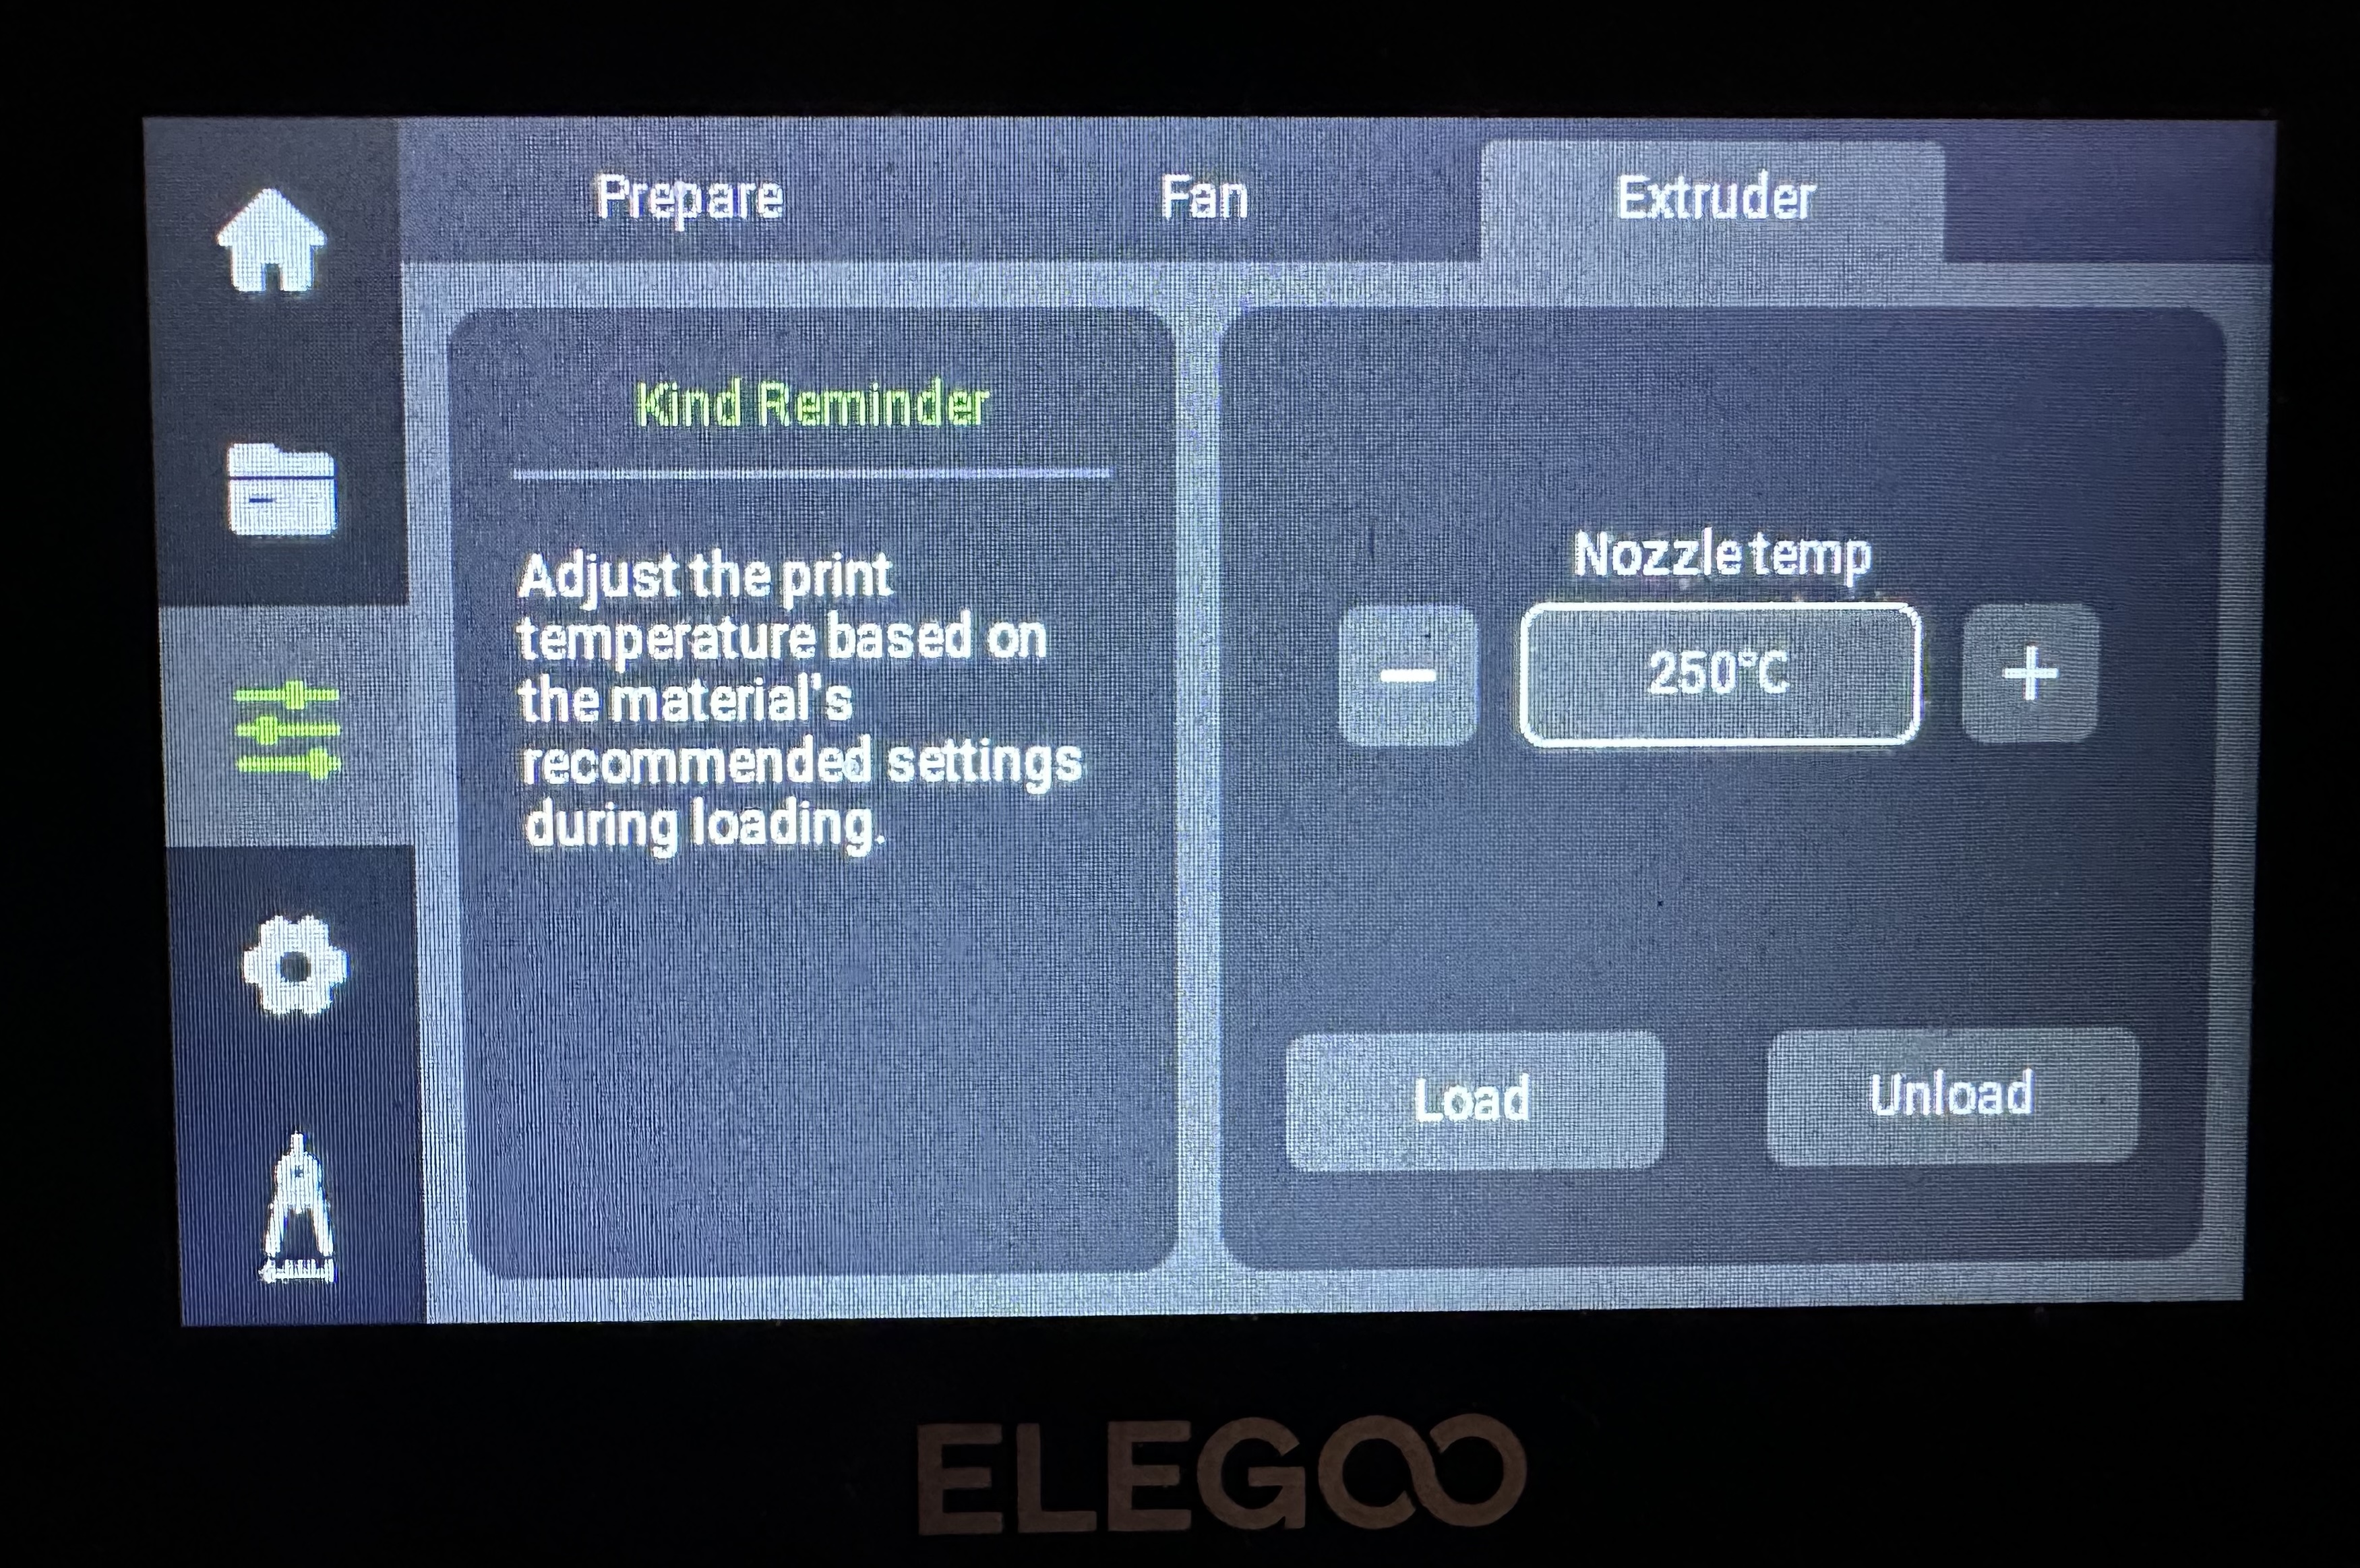
You also need filament. The most common type of filament used is Polylactic Acid, or PLA. You can order PLA with your printer from the manufacturer or you can order from Amazon. Once you have the filament, you will need to load it in to the printer. The CC has a side-mounted filament holder. You place the filament on the holder as shown in the setup instructions and feed the filament in to the printer. In the case of the CC, you simply push the end of the filament in to the sensor mounted on the side of the printer until it won't go any further. You then need to tell the printer to load the filament. This can be done on the attached screen by going to Setting, Extruder and clicking on Load as shown on the screenshot below.
Now you need to install the slicer software on your computer, tablet or phone. Follow the setup instructions for your printer. ElegooSlicer is available to download here. You will need a PC or a Mac. Once you have installed the slicer, click the icon to open it.
Next we need to find something to print. There are many places online to download 3D models. Here are some of the ones I use:
You can download a model from any site and use it on any printer. You are not limited to the manufacturers site. We will use MakerWorld.
On the MakerWorld website, click in the search box at the top of the page, type Benchy and press enter. You will see more than 1,000 Benchy models. You can pick whichever one you want. You will see a download link on the right side of the screen. Click the arrow next to it and choose "Download 3MF". You can save the file to your Downloads folder or to your Desktop. Once the file has been downloaded, go to your slicer software, in this case ElegooSlicer.
In the slicer software, go to File, Open and choose Open 3MF/STL/STEP. You should now see the Benchy on your screen.
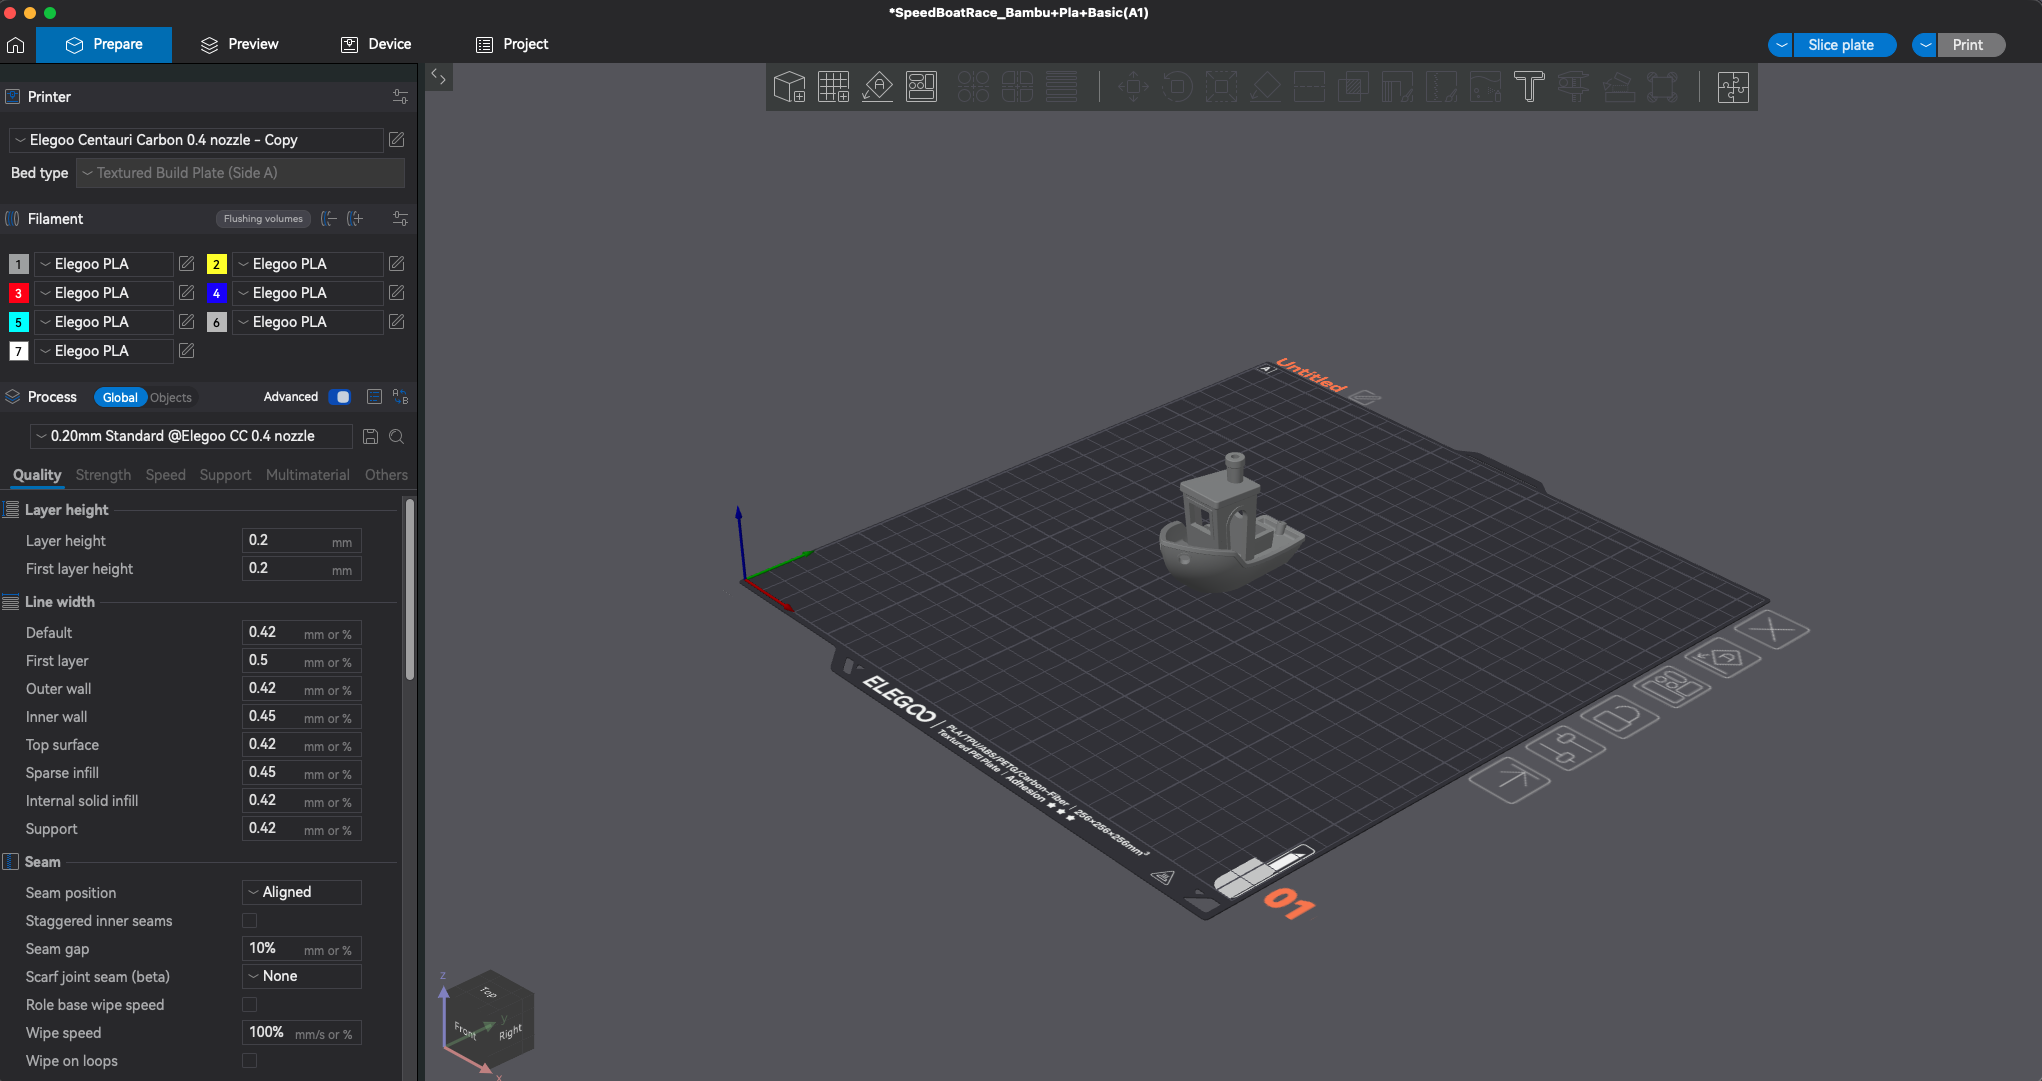
On the top right of the screen, click on Slice Plate. After a few seconds the model changes color and you see a bunch of information on the right of the screen. This tells you how much filament it will use and how long it will take to print. Next click on Print.
You should see a screen such as the one below.
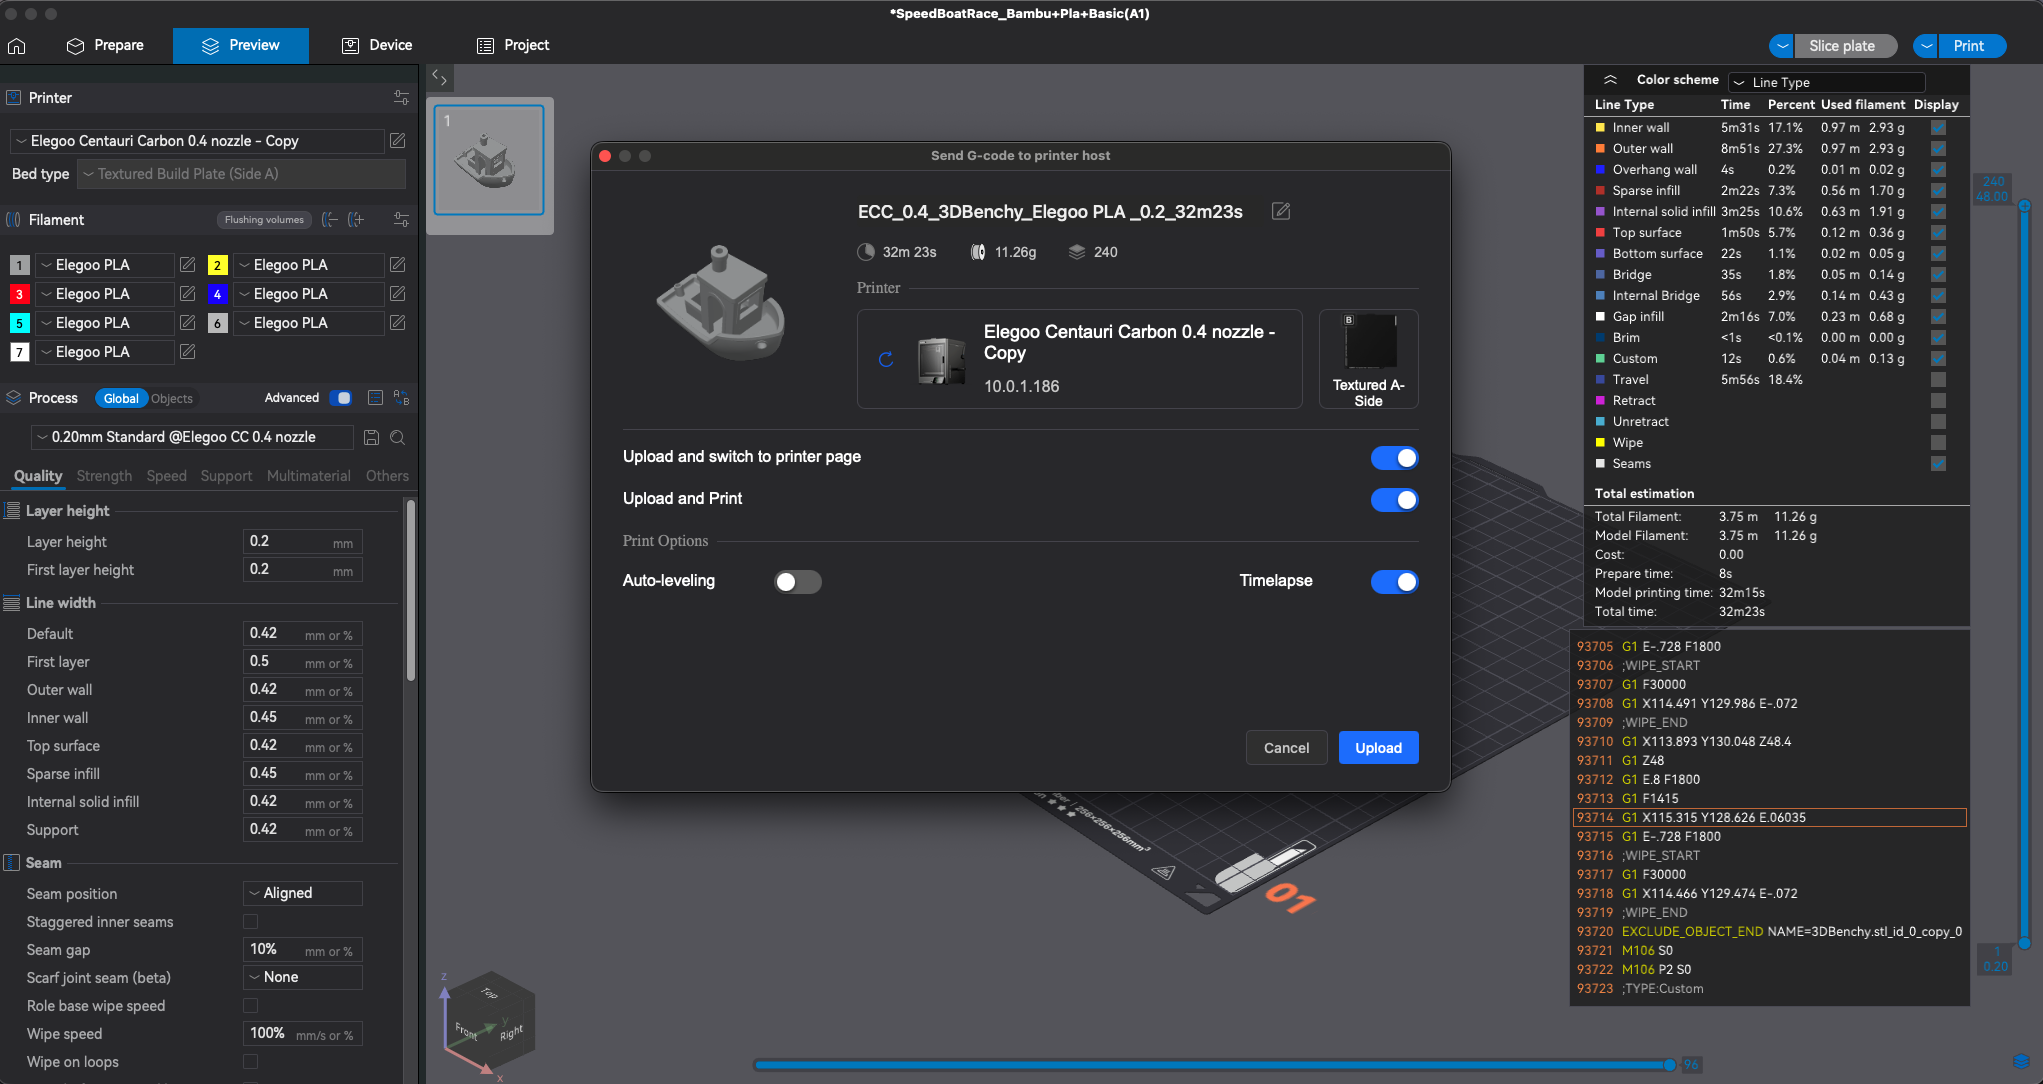
You should turn on the options for "Upload and Print" and "Upload and switch to printer page" and click the Upload button. After a few seconds it should switch to another screen. This screen shows you the progress of the print and a live video from inside the printer (if your printer has a built-in camera). And the printer should start printing. You will see updates in the slicer software as well as on the screen attached to the printer.